

Last Updated: November 8, 2026
Quick Summary
To report new build snags, inspect the property before completion where possible, then submit a written snagging report by email listing each defect with a dated photograph, a plain description and its exact location. Keep a dated defect log and confirm every conversation in writing, because verbal reports get forgotten.
- A snag is a defect in finish, workmanship or function present at handover, not damage or maintenance.
- Take a wide shot of the room then a close-up, with something for scale such as a coin.
- Send your completed report by email so you have a timestamped record and keep the originals.
- After handover, defects usually fall under a two-year warranty period, followed by structural cover for longer.
- Escalate stalled repairs from customer service to a senior manager, then your warranty provider.
Table of Contents
- What Counts as a Snag on a New Build (and What Doesn’t)
- Common New Build Snags to Look For Before You Report
- When to Inspect: Pre-Completion vs Post-Completion Reporting Deadlines
- How to Document New Build Snags: Evidence That Holds Up
- A Copyable New Build Snagging Report Template
- The New Build Warranty Defects Process After Handover
- How to Complain About a New Build House When Repairs Stall
- Book an Independent Snagging Inspection Before You Submit
- Frequently Asked Questions
What Counts as a Snag on a New Build (and What Doesn’t)
A snag is a defect in finish, workmanship or function that falls short of the standard a buyer should reasonably expect in a new home. Knowing how to report new build snags starts with knowing what actually qualifies. Get this wrong and your report loses credibility before the developer has even read it.
Reports that mix genuine defects with wear and tear are weakened as a whole.
Snag, Damage, Maintenance or Major Defect: Telling Them Apart
- Snag: faulty finish or workmanship present at handover, such as cracked tiles or doors that don’t close.
- Damage: caused after completion, by you, a visitor or a contractor. Usually not the builder’s responsibility.
- Maintenance: normal upkeep like resealing or repainting. Yours to handle.
- Major defect: a structural or safety issue, such as a leaking roof or unstable wall. Escalate immediately.
A common mistake is listing maintenance items as snags. Developers spot this quickly and use it to question the rest of your list.
Common New Build Snags to Look For Before You Report
Check every room methodically before you write anything down. The most common new build snags cluster in a few predictable places.
- Cracks in plasterboard and ceilings
- Doors and windows that stick or don’t latch
- Poor paintwork, drips and missed patches
- Uneven or lifting flooring
- Silicone sealant gaps around baths and sinks
- Missing or damaged roof tiles
- Drainage that pools water rather than running off
- Loose handles, hinges and ironmongery
Walk each room with a notepad and check high, low and behind furniture. Builders often fix obvious items before completion, so look harder at the details.
When to Inspect: Pre-Completion vs Post-Completion Reporting Deadlines
The best time to inspect is before completion, while the developer still has incentive to fix things quickly. You can book a pre-completion inspection at this stage and give the developer a list to work through.
A post-completion inspection happens after handover. Check your developer’s policy on reporting deadlines, because these vary. Most set a defined window for snagging after completion, often tied to the two-year warranty period. Report in writing and keep a dated copy.
Watch out: verbal reports get forgotten. Always confirm in writing, even if you also speak to the site manager.
How to Document New Build Snags: Evidence That Holds Up
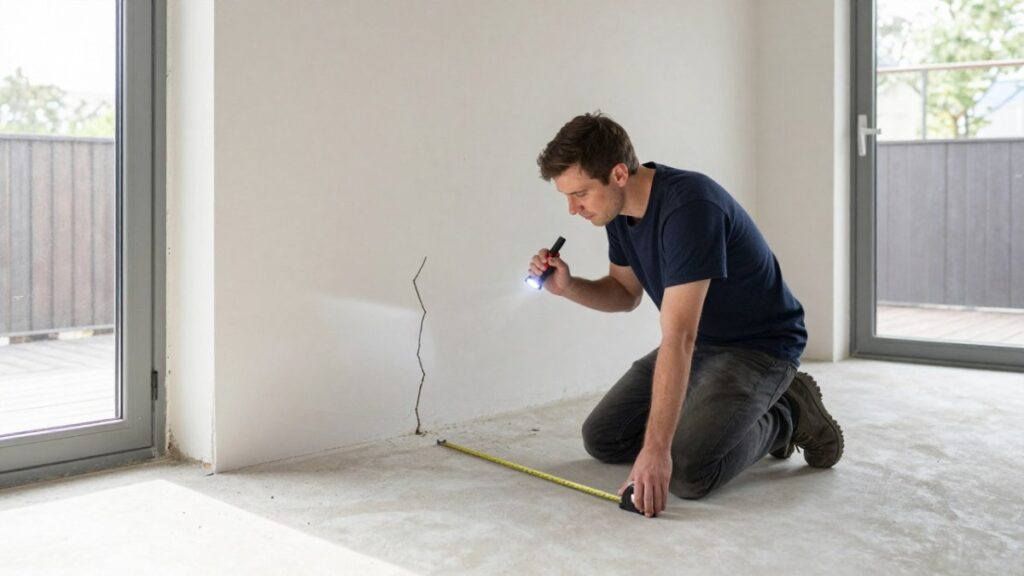
Evidence is what separates a report the developer acts on from one they dismiss. Document each issue with three things: a dated photograph, a clear description and its exact location.

Photographs, Dates and Descriptions That Developers Can’t Dismiss
- Take a wide shot showing the room, then a close-up of the defect.
- Include something for scale, like a coin or a tape measure.
- Add the date and room name to every image.
- Describe the defect in plain words: “hairline crack, 20cm, above bedroom window.”
Keep a detailed log with a date reported column. This becomes your supporting evidence if repairs stall. The NHQB guidance on new build quality sets out the standards developers are expected to meet.
A Copyable New Build Snagging Report Template
A clear template keeps your report professional and easy for the developer to action. Copy this and fill in each field.
| Field | What to Enter |
|---|---|
| Property address | Full address and plot number |
| Inspection date | Date you inspected |
| Room | Kitchen, bathroom, bedroom one, etc. |
| Item number | 1, 2, 3 in order |
| Description of defect | Plain description with size |
| Photograph reference | File name or photo number |
| Date reported | Date you sent the report |
| Requested action | Repair, replace or make good |
| Target response date | The date you expect a written reply |
| Status | Open, acknowledged, repaired, disputed |
Send the completed report by email so you have a timestamped record. Attach your photographs and keep the originals.
A Copyable Email to Send With Your Snagging List
Use this wording as a starting point and adjust the bracketed fields. Keep the tone factual rather than emotional.
Subject: Snagging report, [property address], plot [number], submitted 2026
Dear [developer customer service team],
Please find attached my snagging report for [property address], plot [number], following my inspection on 2026. The report lists [number] items with photographs and a requested action for each.
I would be grateful for written acknowledgement within [number] working days and a proposed schedule for the remedial work.
A Defect Log You Can Keep Alongside the Report
A report is a snapshot; a defect log is the running record. Keep a simple spreadsheet with one row per item and these columns: item number, room, description, date first reported, date acknowledged, date of repair visit, date confirmed repaired, and current status. Update it every time something changes and save a dated copy each time you send or receive correspondence. This log becomes your supporting evidence if repairs stall, and it makes a follow-up email quick to write because you can quote the item numbers and dates directly.
Labelling Photographs So They Can’t Be Misread
Name each image file with the plot number, room and item number, for example plot12-kitchen-item04-crack.jpg. Take a wide shot showing the room, then a close-up of the defect, and include something for scale such as a coin or a tape measure.
Watch out: photographs sent only through a developer’s online portal can be hard to retrieve later, so keep the originals on your own device and email a copy to yourself as a dated backup.
The NHQB guidance on new build quality sets out the standards developers are expected to meet, and it is worth reading before you finalise your list so your descriptions use the same language.
The New Build Warranty Defects Process After Handover
After handover, defects usually fall under a two-year warranty period, followed by structural cover for longer. The exact terms depend on your warranty provider, so read your policy.
The typical process runs like this:
- Submit your snagging report to the developer in writing.
- The developer logs each item and schedules remedial work.
- You agree access dates for the repairs.
- Work is completed and you check it.
- Unresolved items go back on the list with a follow-up date.
Track every response and keep chasing. A repair request that isn’t confirmed in writing can quietly disappear.
How to Complain About a New Build House When Repairs Stall
If repairs stall, escalate in a clear order rather than repeating the same email. Knowing how to complain about a new build house properly protects your position, and a dated paper trail matters more than the strength of your frustration.
Escalation Routes and a Simple Decision Tree
- Step 1: Chase the developer’s customer service team in writing, quoting your item numbers and the date each was first reported.
- Step 2: Escalate to a senior manager or the developer’s formal complaints department, and ask for the complaint to be logged under their published complaints procedure.
- Step 3: Contact your warranty provider and open a claim for the unresolved items, attaching your defect log and photographs.
- Step 4: Raise the matter with the New Homes Ombudsman scheme where it applies to your developer.
- Step 5: Seek independent advice if the dispute continues.
Decision tree: has the developer responded within their stated time? If no, move to the next step and say in writing that you are doing so. If yes but the repair is poor, re-report the item with new photographs, a new target date and a note that the previous repair did not resolve it. If the developer disputes that the item is a defect at all, ask for their reason in writing before escalating, that written reason is useful evidence for the warranty provider.
Timescales to Work To
Developers set their own response times, so check your contract and the developer’s complaints procedure for the stated window. The exact figures vary. Your warranty provider will also have its own claim process and evidence requirements, so read the policy before you submit a claim rather than after.
When the Repair Is Done Badly
A repair that is completed but poor quality is a separate complaint from an unrepaired snag. Re-open the item in your defect log, take fresh photographs, and describe what is still wrong in the same plain terms you used the first time. Ask the developer to confirm in writing whether they consider the item closed; if they do and you disagree, that disagreement is the point at which the warranty provider becomes the right route.
Keeping the Paper Trail
Keep every email, letter and portal message, and save a dated copy of your defect log each time you send or receive correspondence. If you speak to the site manager, confirm the conversation by email the same day so there is a written record. A repair request that isn’t confirmed in writing can quietly disappear, and a dispute is much harder to pursue without dates.
If the developer disputes your findings, you may need to challenge a builder snagging report with stronger evidence.
Book an Independent Snagging Inspection Before You Submit
An independent inspection can give your report weight. A qualified surveyor checks the property with professional equipment, including thermal imaging, and can find defects the untrained eye misses.
We work solely for homeowners, never developers. If you’re weighing up whether it’s worth it, read are new build snagging reports worth the cost, and see what a snagging survey covers before you book.
A professional inspection turns a list of complaints into supporting evidence a developer has to take seriously.
Reporting new build snags well takes preparation, clear evidence and persistence.
Frequently Asked Questions
How do I report a snag in a new build home?
Put it in writing to the developer’s customer care team, not just on the phone. Include the room, the exact location, a description of the defect and a dated photograph, then keep a copy of everything you send. A single dated list is far stronger than a string of calls. If you have had an independent snagging inspection, attach the report so the developer can see the full schedule of new build snags in one document.
How long do I have to report snags to my housebuilder?
Check your contract and warranty documents, because deadlines vary between house builders. Most ask for cosmetic and finish snags within a short window after completion, often around seven to fourteen days, while the warranty’s two-year period covers a wider set of defects. Report anything you find as soon as you spot it, with a date on the record, so you are never arguing about whether you raised it in time.
What can I do if my housebuilder does not fix the snags?
Chase the developer in writing first and give a reasonable deadline for remedial work. If nothing happens, escalate to the warranty provider, then to the New Homes Quality Board complaints process if your builder is registered with it, and finally to an independent ombudsman where one applies. Keep a detailed log with the date reported, description of defect and every follow-up, as each escalation step will ask for that evidence.
Can I use an independent snagging inspector to help report defects?
Yes, and it often strengthens your case. An accredited surveyor will produce a professional snagging report with dated photographs and clear defect descriptions that a developer finds harder to dismiss than a homeowner’s handwritten list. Book the inspection before completion where possible so issues are fixed before you move in, and expect the report within a couple of days so it lands inside any reporting deadline.
